Spoiler Alert!
¶ Quest Information
Guest Characters: Jake, Aiden, Cedric Mansfield, Lupe, Theresa


Stodge or Hubert


- Written by: Richard (Sirick) Griffiths
- Voiced by:
Jake - Tom Schalk
Aiden - River Kranoff
Cedric Mansfield - Uncaged Elk
Lupe - Lindsey Vega
Theresa - Kemi Haydee Stanton
Stodge - Sirick
Hubert - Adam LeGrave
¶ Walkthrough
- Talk to Jake and Aiden in the Atrium.
- When Mansfield arrives, talk to him.
- Mansfield will accept the position of Head of Facilities and assign a Concord Volunteer to a janitorial task, then encourage you to start a project.
Tips:
Not all of the functions of Command Mode are available. New departments will open up for you to access when they are needed for you to complete the quest objectives.
Follow the Tutorial, do not build or clean before receiving the quest objectives.
Not enough population at HQ:
You should have 10 people for the Tutorial. If not, use the City Manager Holotape. Go to Tools > Advanced Tools > Quest Fixes and select "How to HQ population fix" to resolve.
If after running the fix, your population shows 10, but only 8 in the Facilities Department, go to Facilities > Manage and move staff from "My Inventory" to the "Facilities"
Resource Numbers will appear as 999/# with HQ 3.0 instead of 9999/#.
This is due to new code to allow the use of the Task List system for Automation.
With Release 3.2.2, resources are no longer required during the Tutorial. Resource costs will display when using Command Mode to assign projects, but if they are grayed out, you will still be able to asssign projects.
4. Start a Cleaning Project in Command Mode
a. Hold "V" to open Command Mode. Command Mode is like using the Workbench in your settlements.
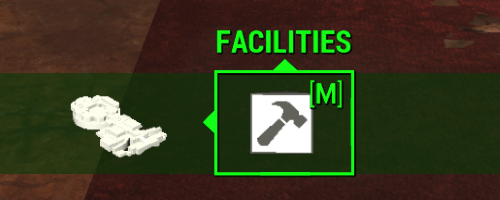
b. Select the FACILITIES, Enter
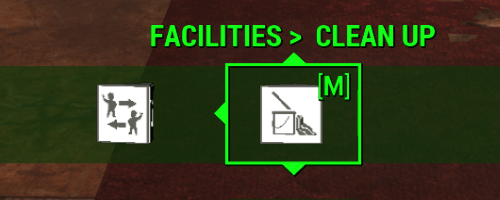
c. Select FACILITIES>CLEAN UP and Enter
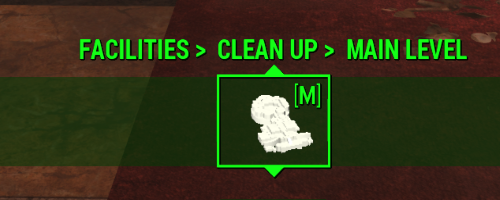
d. Select FACITILIES>CLEANUP>MAIN LEVEL and Enter
d. The Tutorial selects the room to clean. PROJECT: CLEAN UPPER BALCONY OFFICES SE - SE (999) will open.
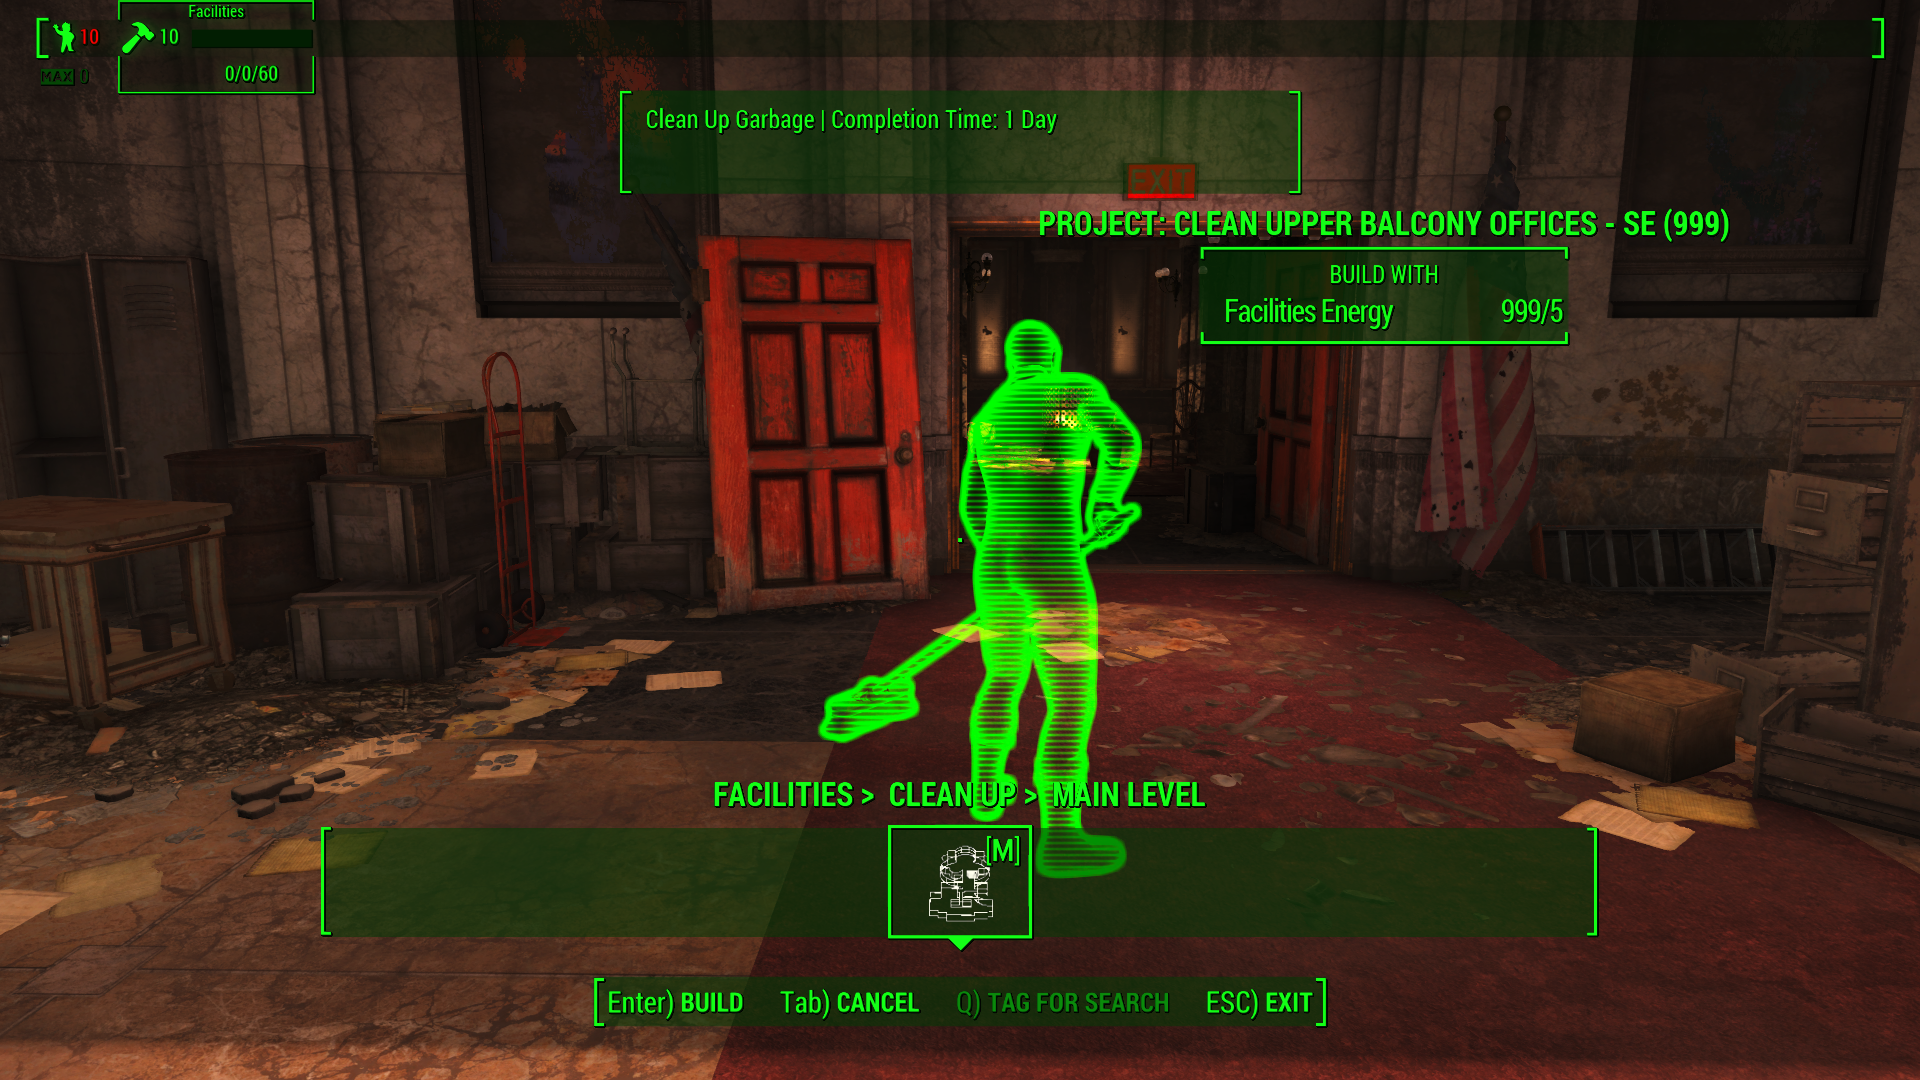
e. Enter, the EXIT Command Mode.
f. Wait for the project to complete.
Tips:
You do not have to move to the room you want cleaned or built to place the "Blue Man".
You do not need to be concerned if there are not enough resources or department energy to clean or build the rooms. These are now added to the Task List and will be completed when resources and department energy are available. Rooms will clean and be built with, or without available resources and department energy during the Tutorial.
5. Start a Building Project to build an office for Mansfield
a. Use "V" to open Command Mode.
b. Select FACILITIES and Enter
c. Select FACILITIES>CONSTRUCTION and Enter
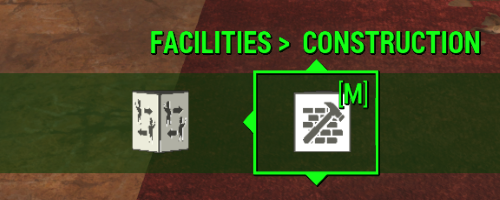
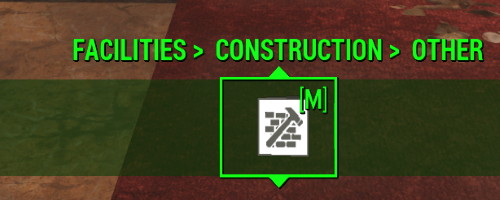
d. Select FACILITIES>CONSTRUCTION>OTHER and Enter
e. The Tutorial selects the room, MANSFIELD'S OFFICE.
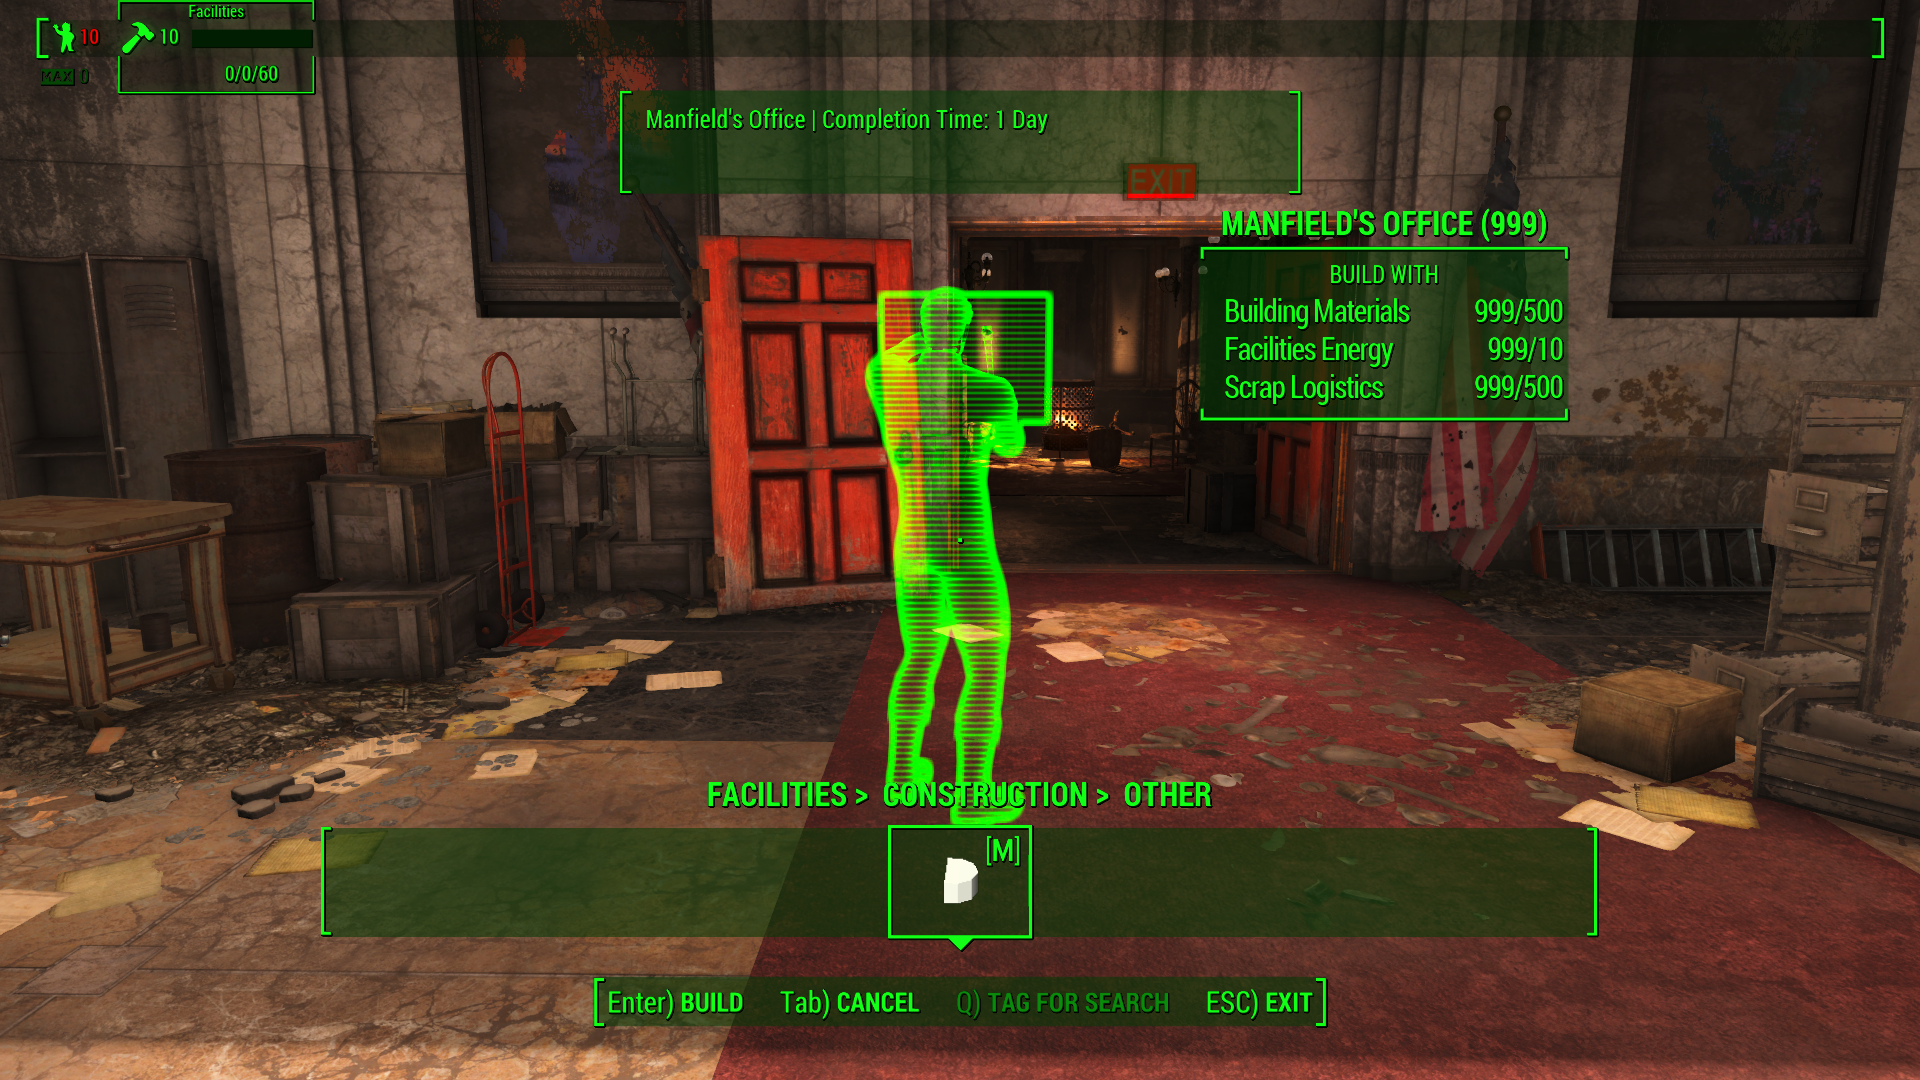
f. Enter, then EXIT Command Mode.
f. Wait for the project to complete.
6. Speak to Mansfield.
He explains that you have the choice to select projects to clean and build yourself or have the department heads select the projects.
Your choices are:
- Skip Tutorial, No Automation
- Continue Tutorial, No Automation
- Skip Tutorial, Full Automation (Automation begins immediately and the quest continues at Step 15: Hear your staff's concerns with Theresa and Lupe joining you in Mansfield's Office.)
- Continue Tutorial, Full Automation (Automation will be enabled when How to HQ quest tutorial is completed. Mansfield will tell you that your next task is to set up Living Quarters.)
7. Use the HQ system to set up Living Quarters
Clean the area. Same steps as before:
a. Select FACILTIES, Enter
b. Select FACILITIES>CLEAN UP, Enter
c. Select FACILITIES>CLEAN UP>MAIN LEVEL, Enter
d. PROJECT: CLEAN LOWER SW OFFICES - 2ND FLOOR - NORTH(12) opens:
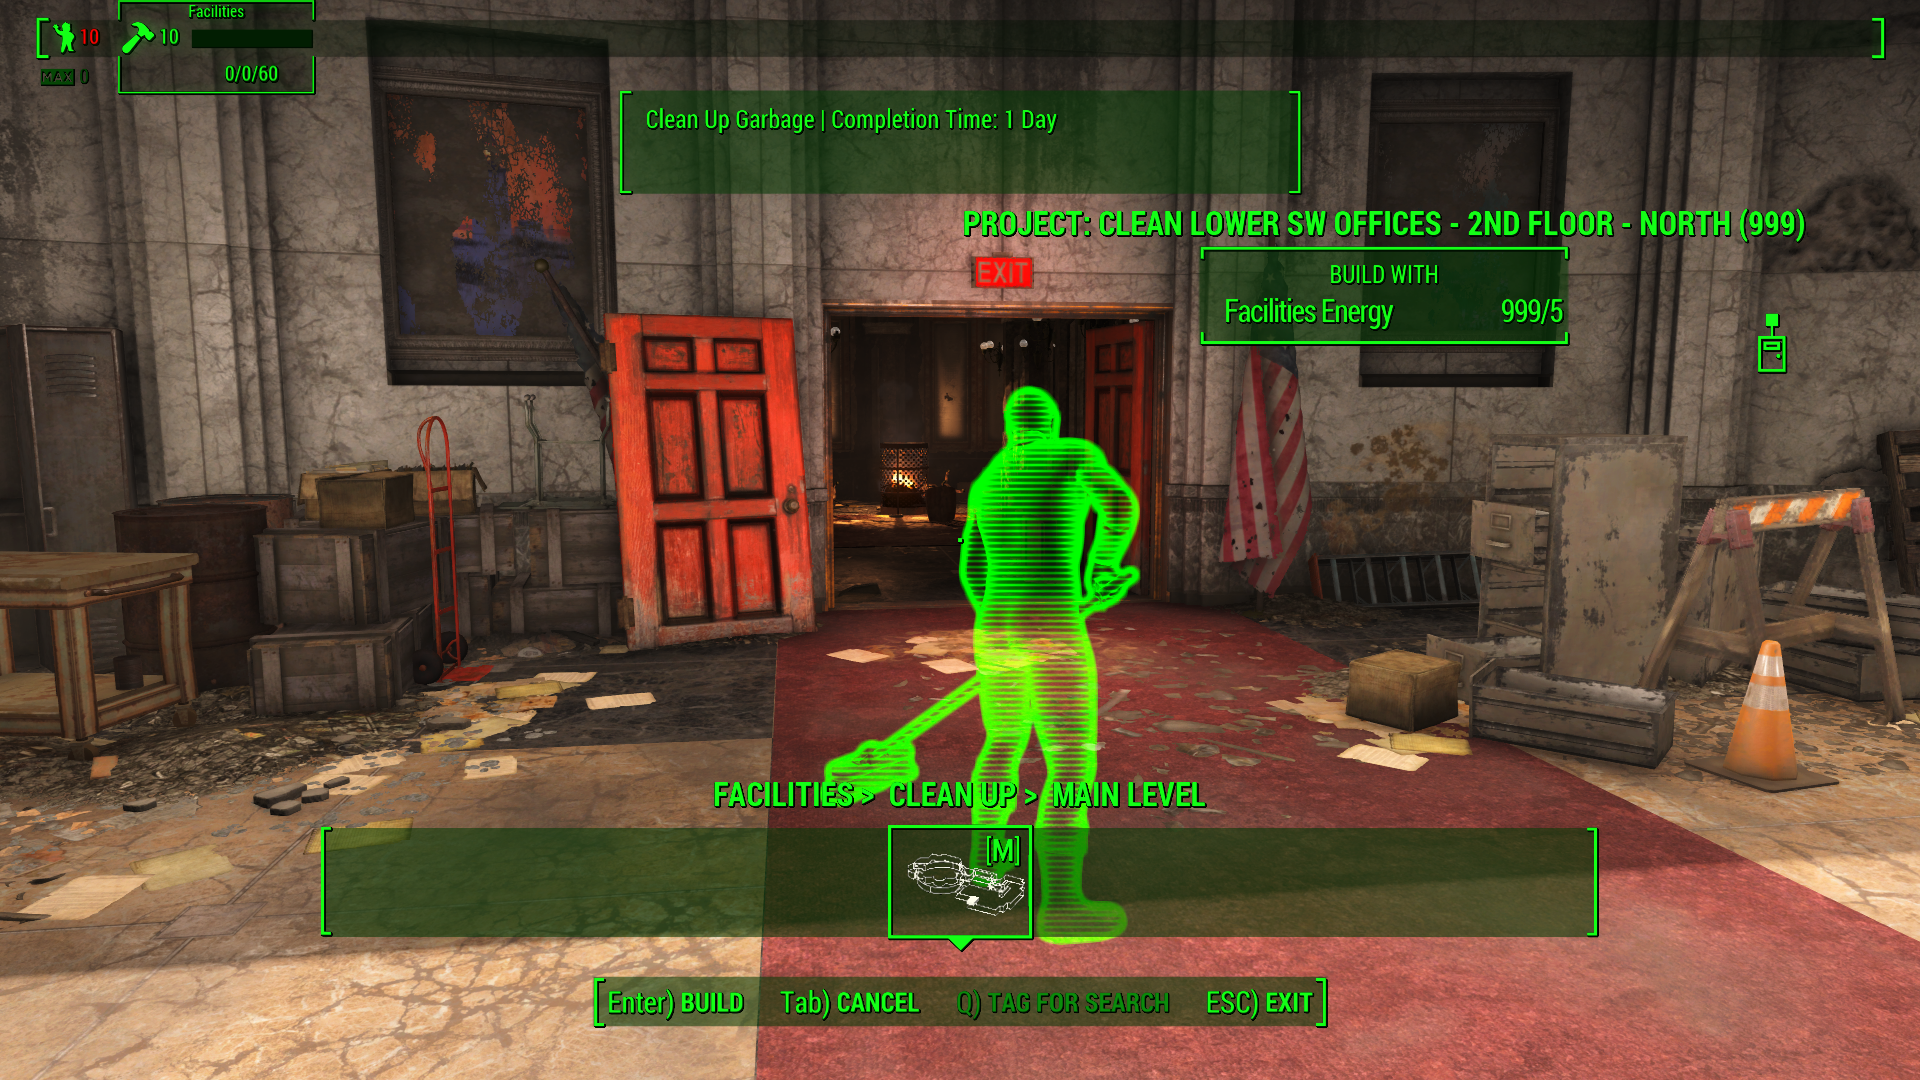
e. Enter, then EXIT Command Mode.
f. Wait for project task to complete.
8. Build the Living Quarters
a. Select FACILITIES, Enter
b. Select FACILITIES>CONSTRUCTION, Enter
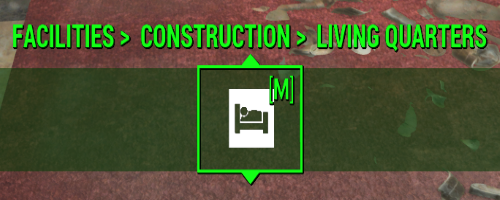
c. Select FACILITIES>CONSTRUCTION>LIVING QUARTERS, Enter
d. PROJECT: LARGE LIVING QUARTERS (1) opens:
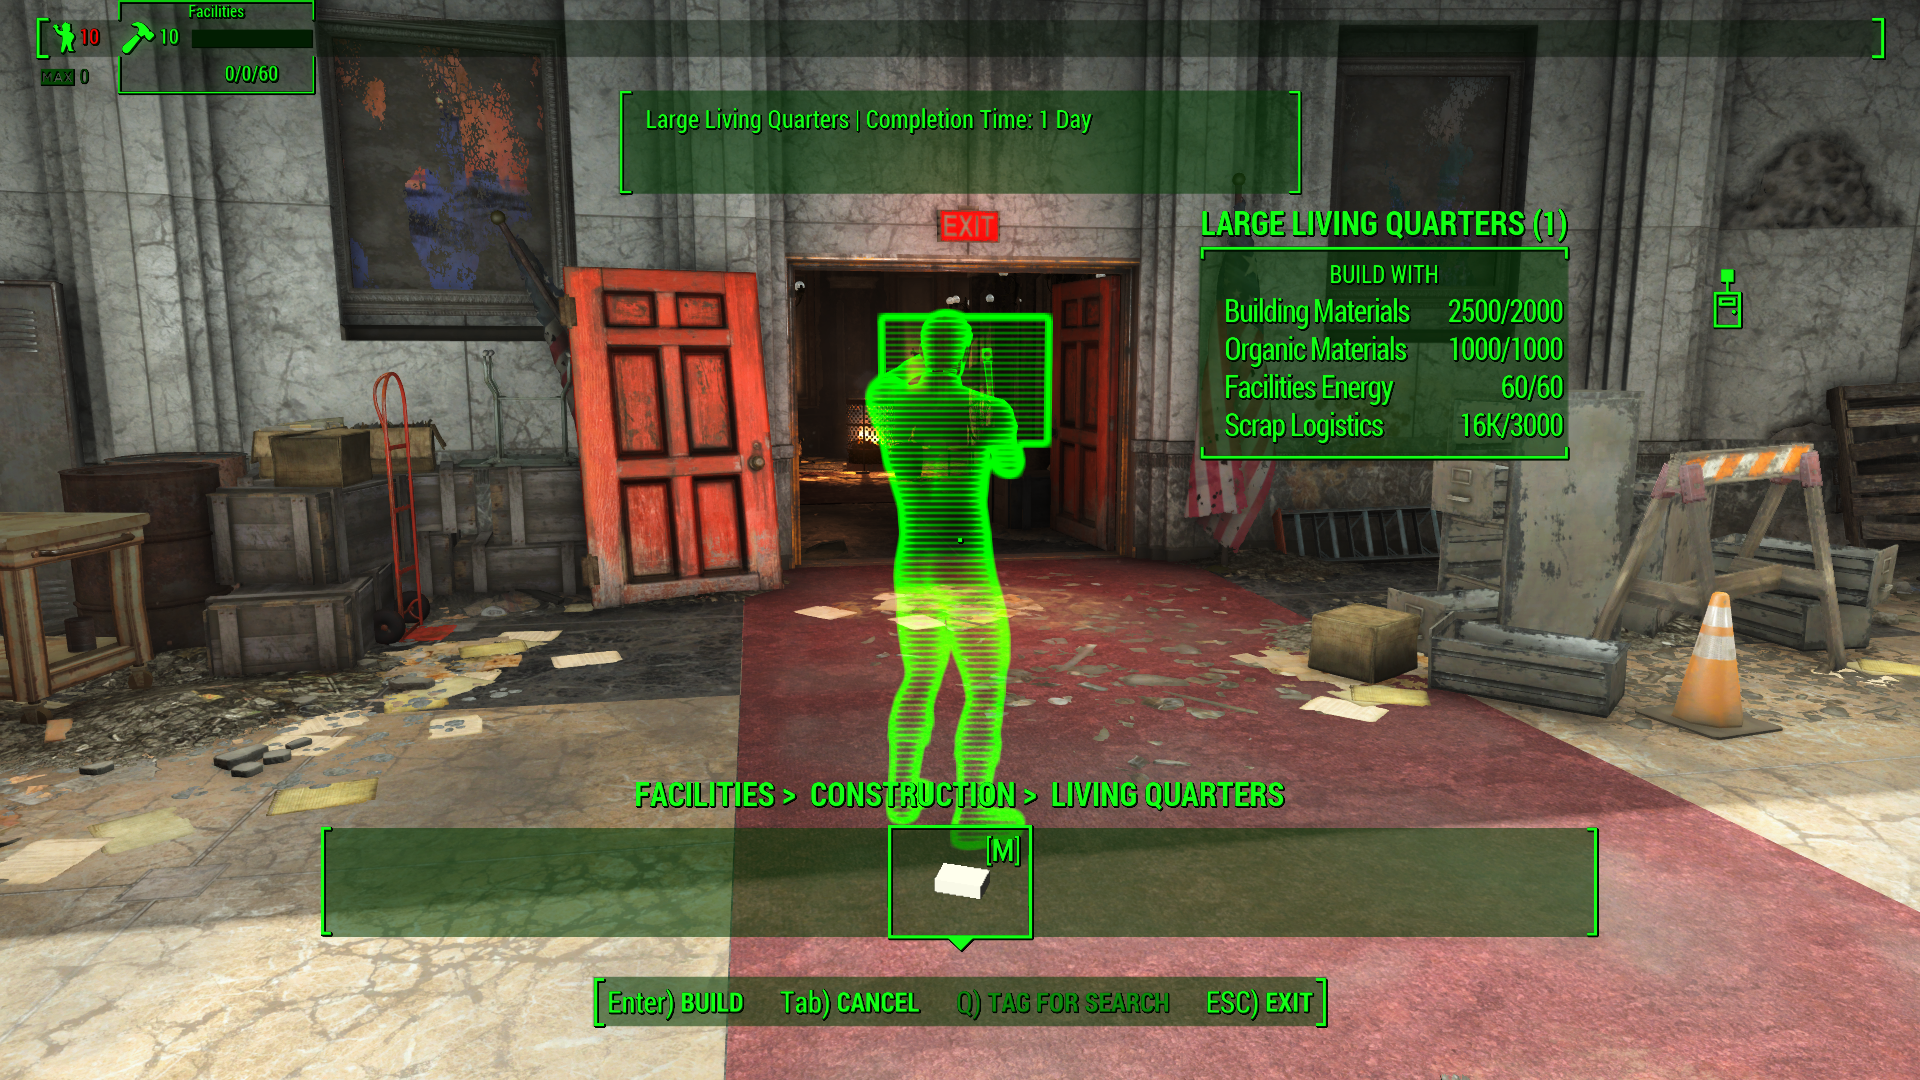
e. Enter, the EXIT Command Mode.
f. Wait for project task to complete.
9. Use Command Mode to set up places for Jake and Aiden to do their work.
a. Select FACITITIES, Enter
b. Select FACILITIES>CLEAN UP, Enter
c. Select FACILITIES>CLEAN UP>MAIN LEVEL - PROJECT: CLEAN ENTRYWAY (5), Enter
d. You can select the next room to clean now if you wish
e. Select FACILITIES>CLEAN UP>MAIN LEVEL - PROJECT: CLEAN LOWER CLOSET SOUTH (16), Enter
f. EXIT Command Mode.
g. Wait for the projects to complete.
10. Build Engineering in the Maintenance Closet
a. Select FACILITIES, Enter
b. Select FACILITIES>CONSTRUCTION, Enter
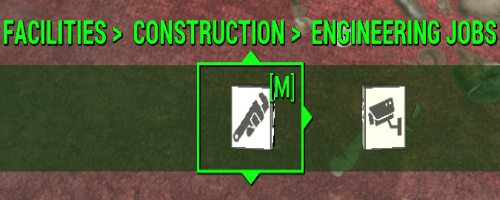
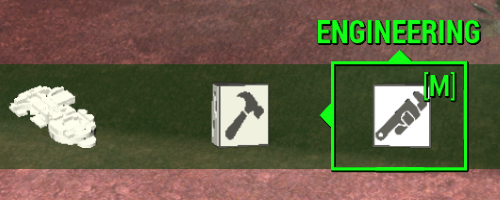
b. Select FACILITIES>CONSTRUCTION>ENGINEERING JOBS, Enter
c. Build Jake's work space in the Maintenance Closet
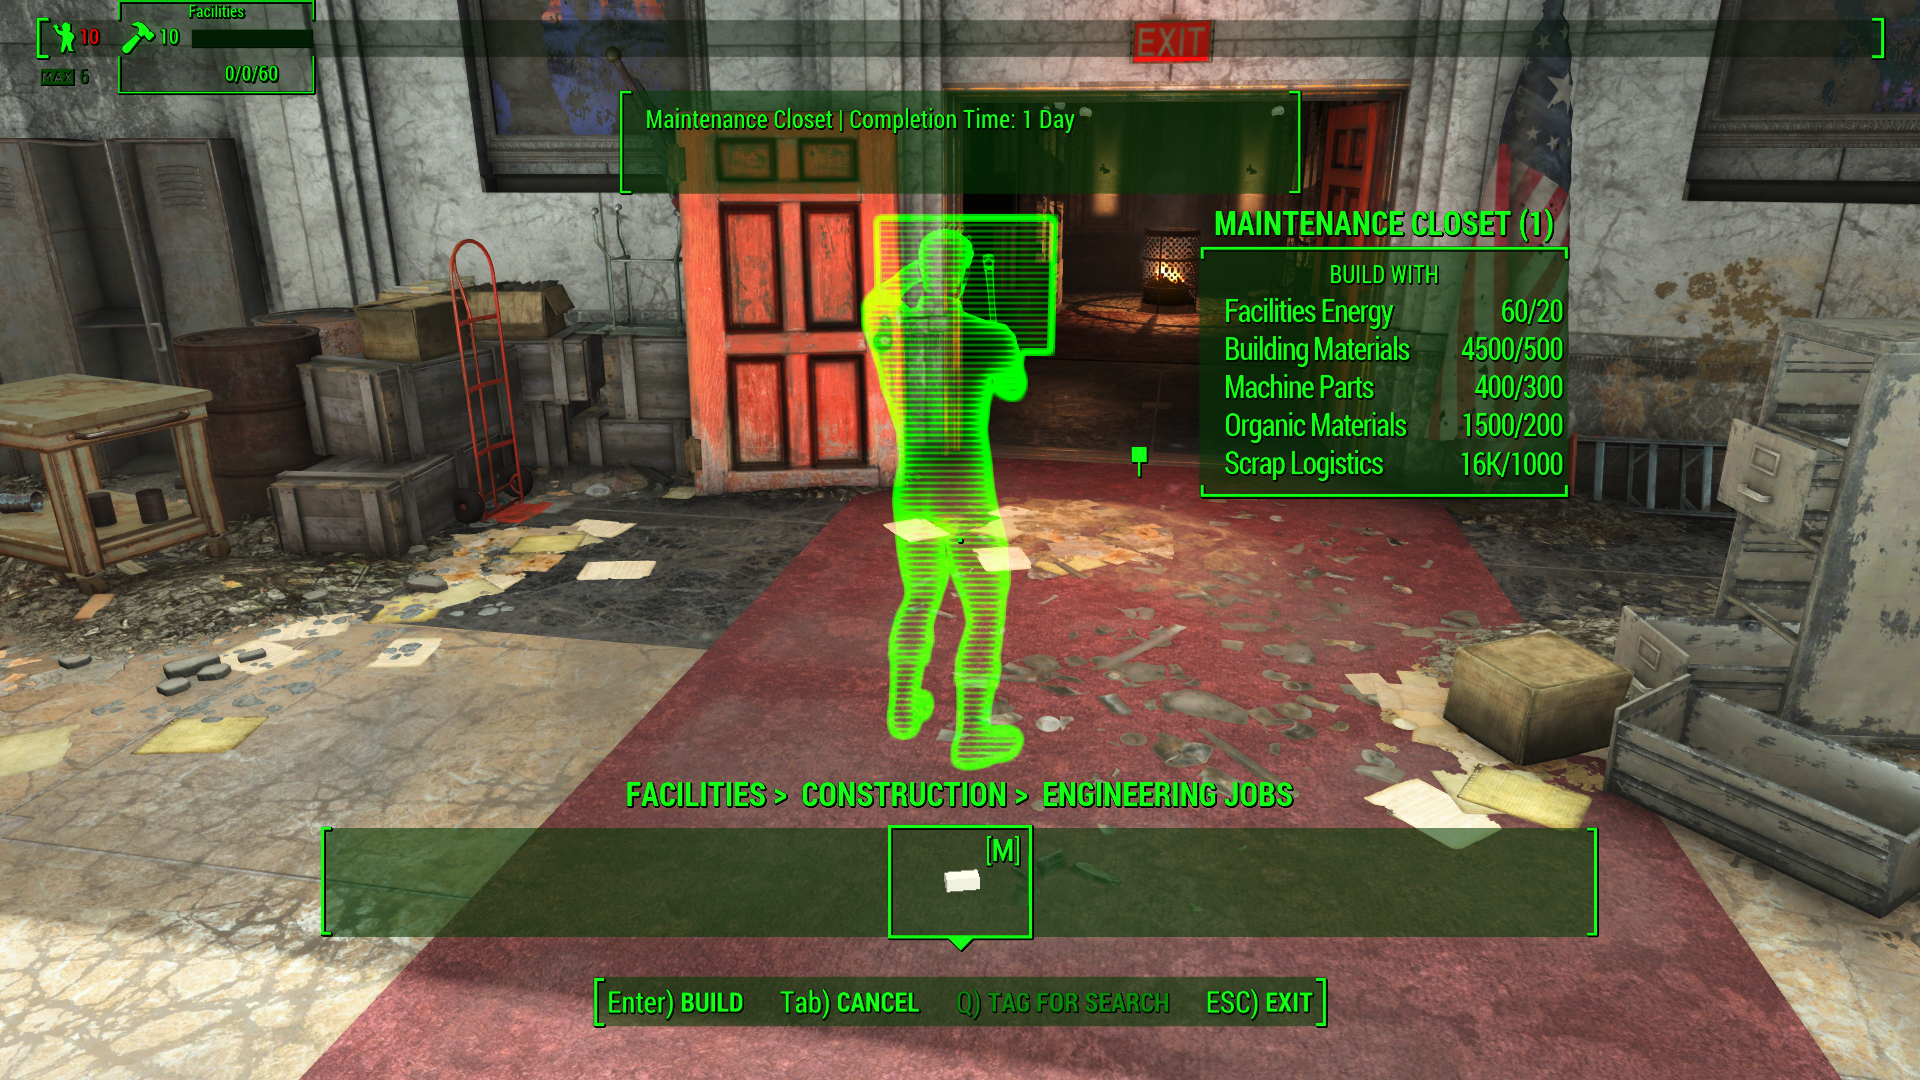
d. Place the Man with the Hammer, Enter
d. Wait for the building project to complete.
11. Assign Jake to the Engineering Department
a. Select ENGINEERING
b. Select ENGINEERING>MANAGE

c. Select ENGINEERING>MANAGE REASSIGN STAFF

d. Like when you select a plot from available building plans, a trade window will appear. Select Jake in the list and moving him from Facilities Staff to Engineering Staff
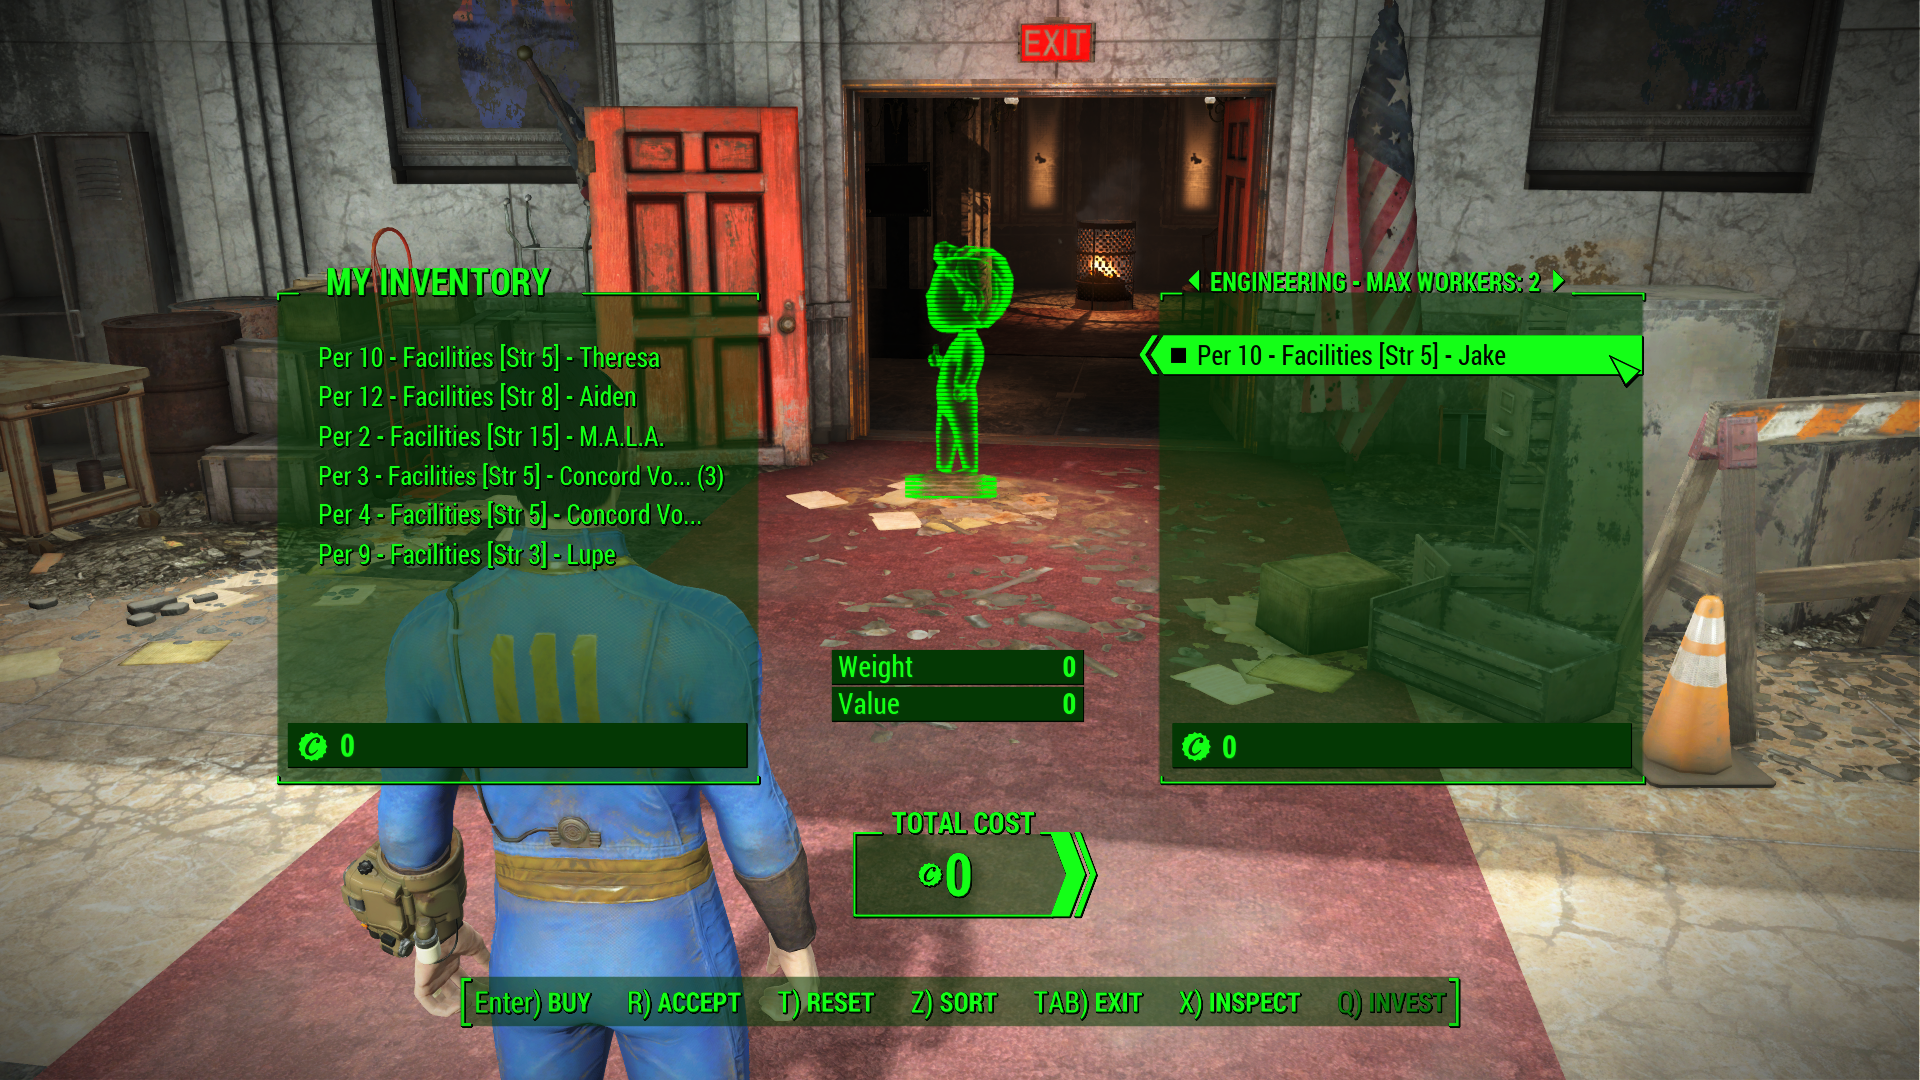
f. Accept the trade
e. Select OK to confirm
12. Build Security Checkpoint in the Entry Way
a. Select FACILITIES, Enter
b. Select FACILITIES>CONSTRUCTION, Enter
c. Select FACILITIES>CONSTRUCTION>SECURITY JOBS, Enter
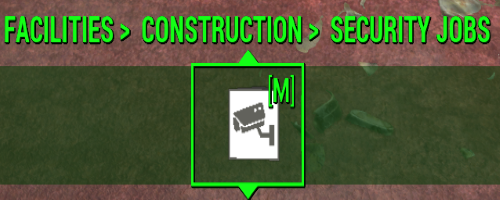
c. Build Aiden's work space, Entry Security Checkpoint
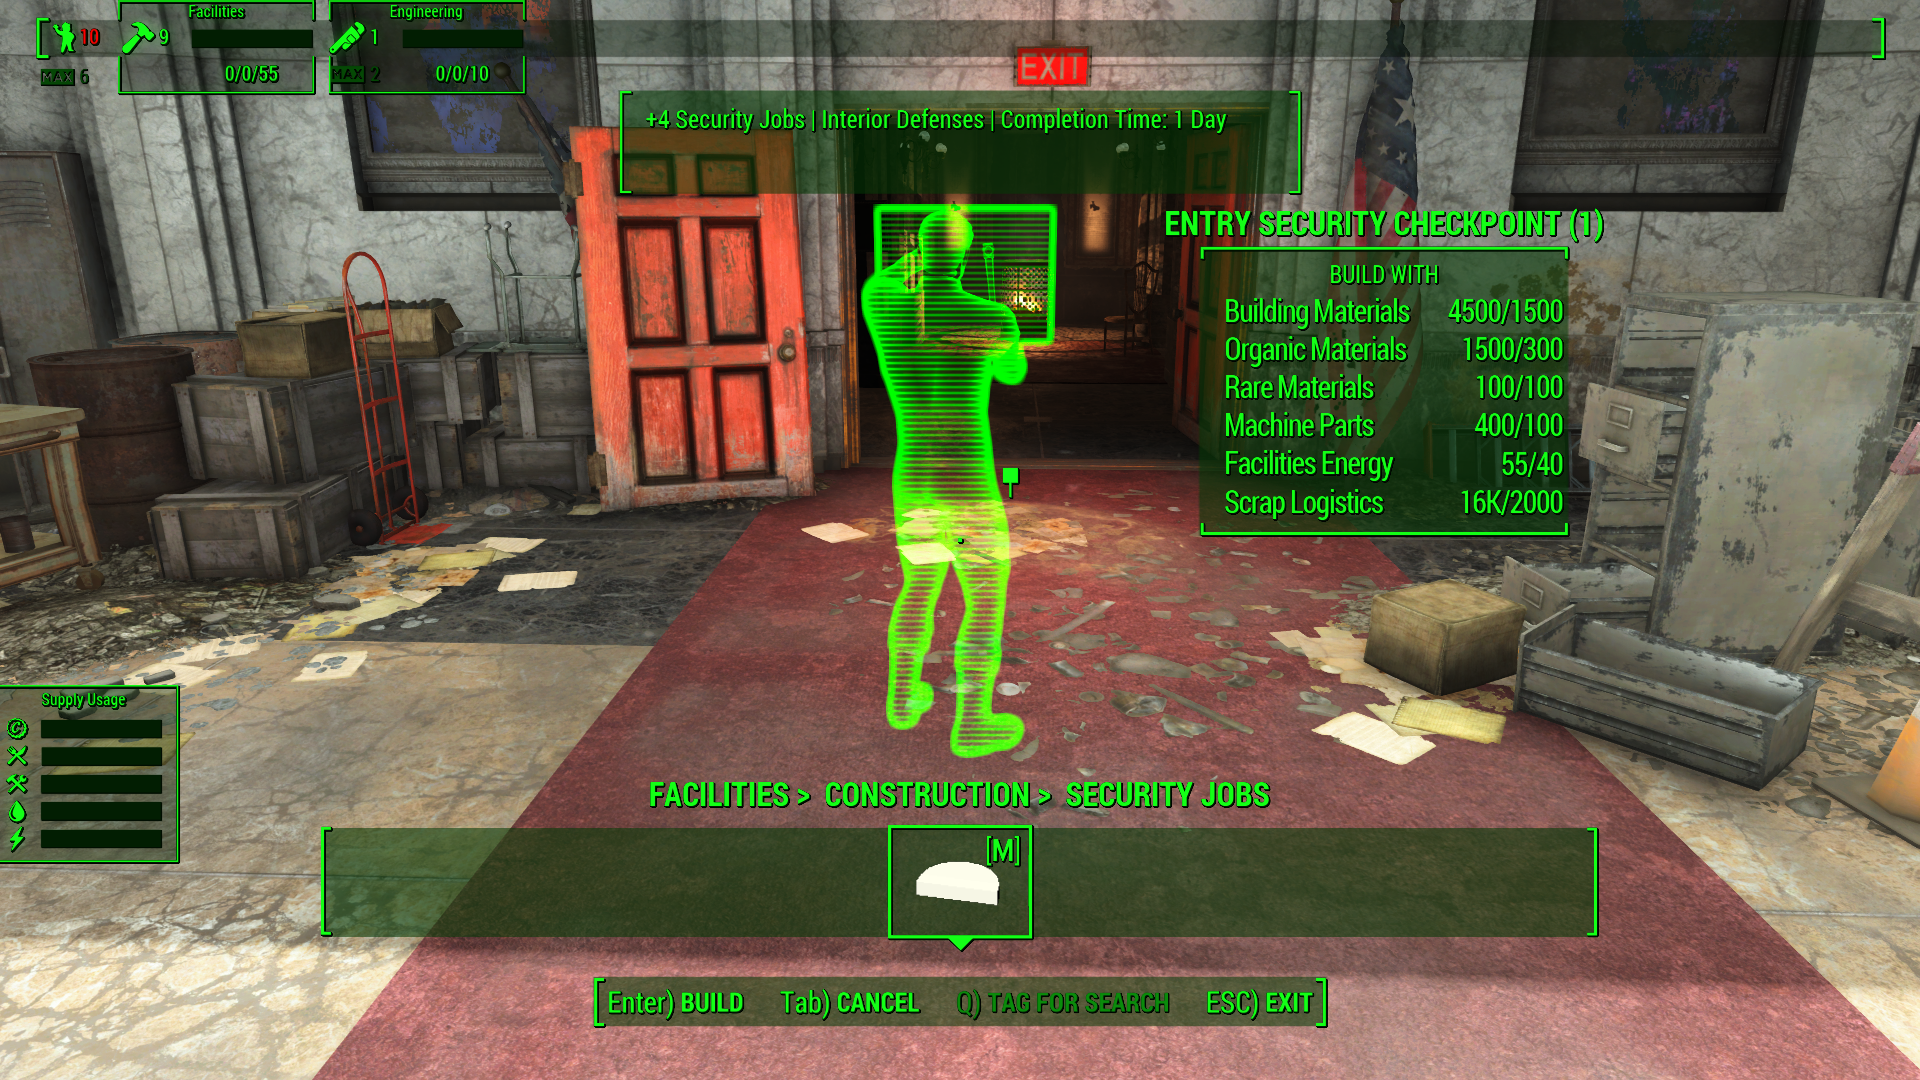
f. EXIT Command Mode.
g. Wait for the building project to complete
13. Assign Aiden to the Security Department
a. Select SECURITY
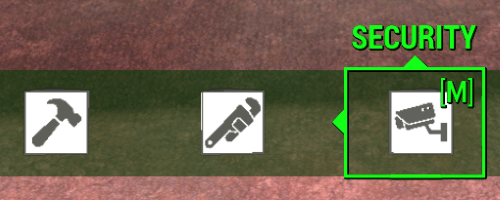
b. Select SECURITY>MANAGE
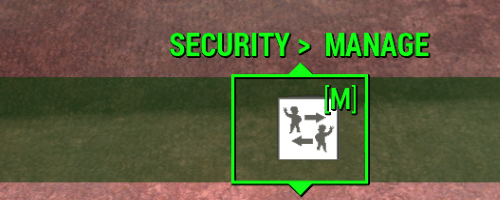
b. Select SECURITY>MANAGE REASSIGN STAFF
d. Select Aiden in the list, and move him from Facilities Staff to Security Staff
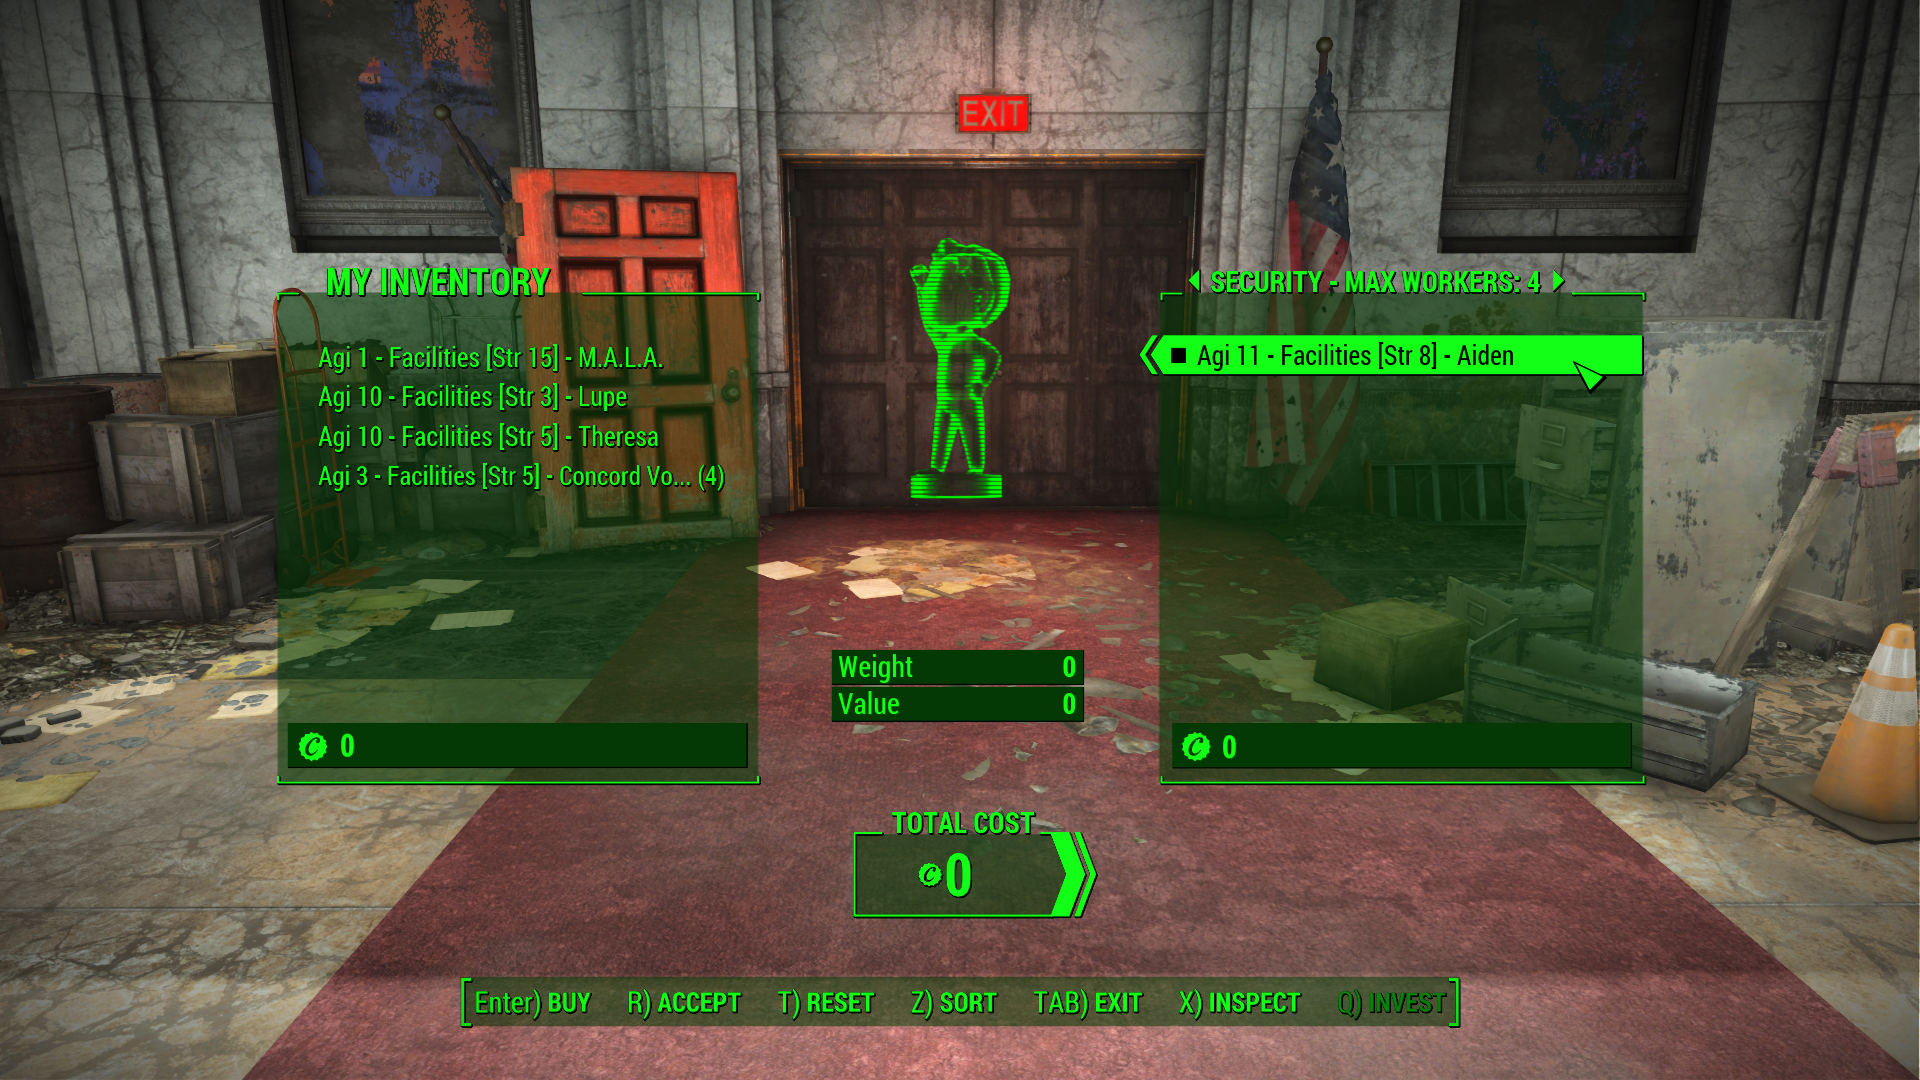
e. Accept the trade
f. Select OK to confirm
14. Engineering Upgrades: Upgrade the Security Checkpoint
a. Select ENGINEERING, Enter
b. Select ENGINEERING>UPGRADES, Enter
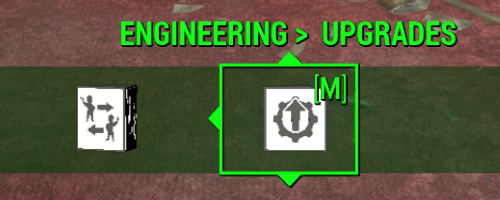
c. Select ENGINEERING>UPGRADES>SECURITY ROOMS, Enter
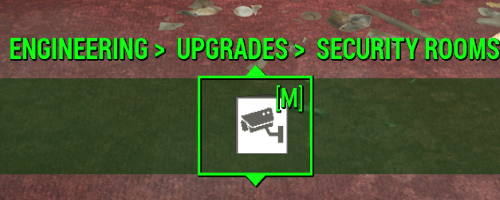
d. Build ENTRY METAL DETECTORS, Enter
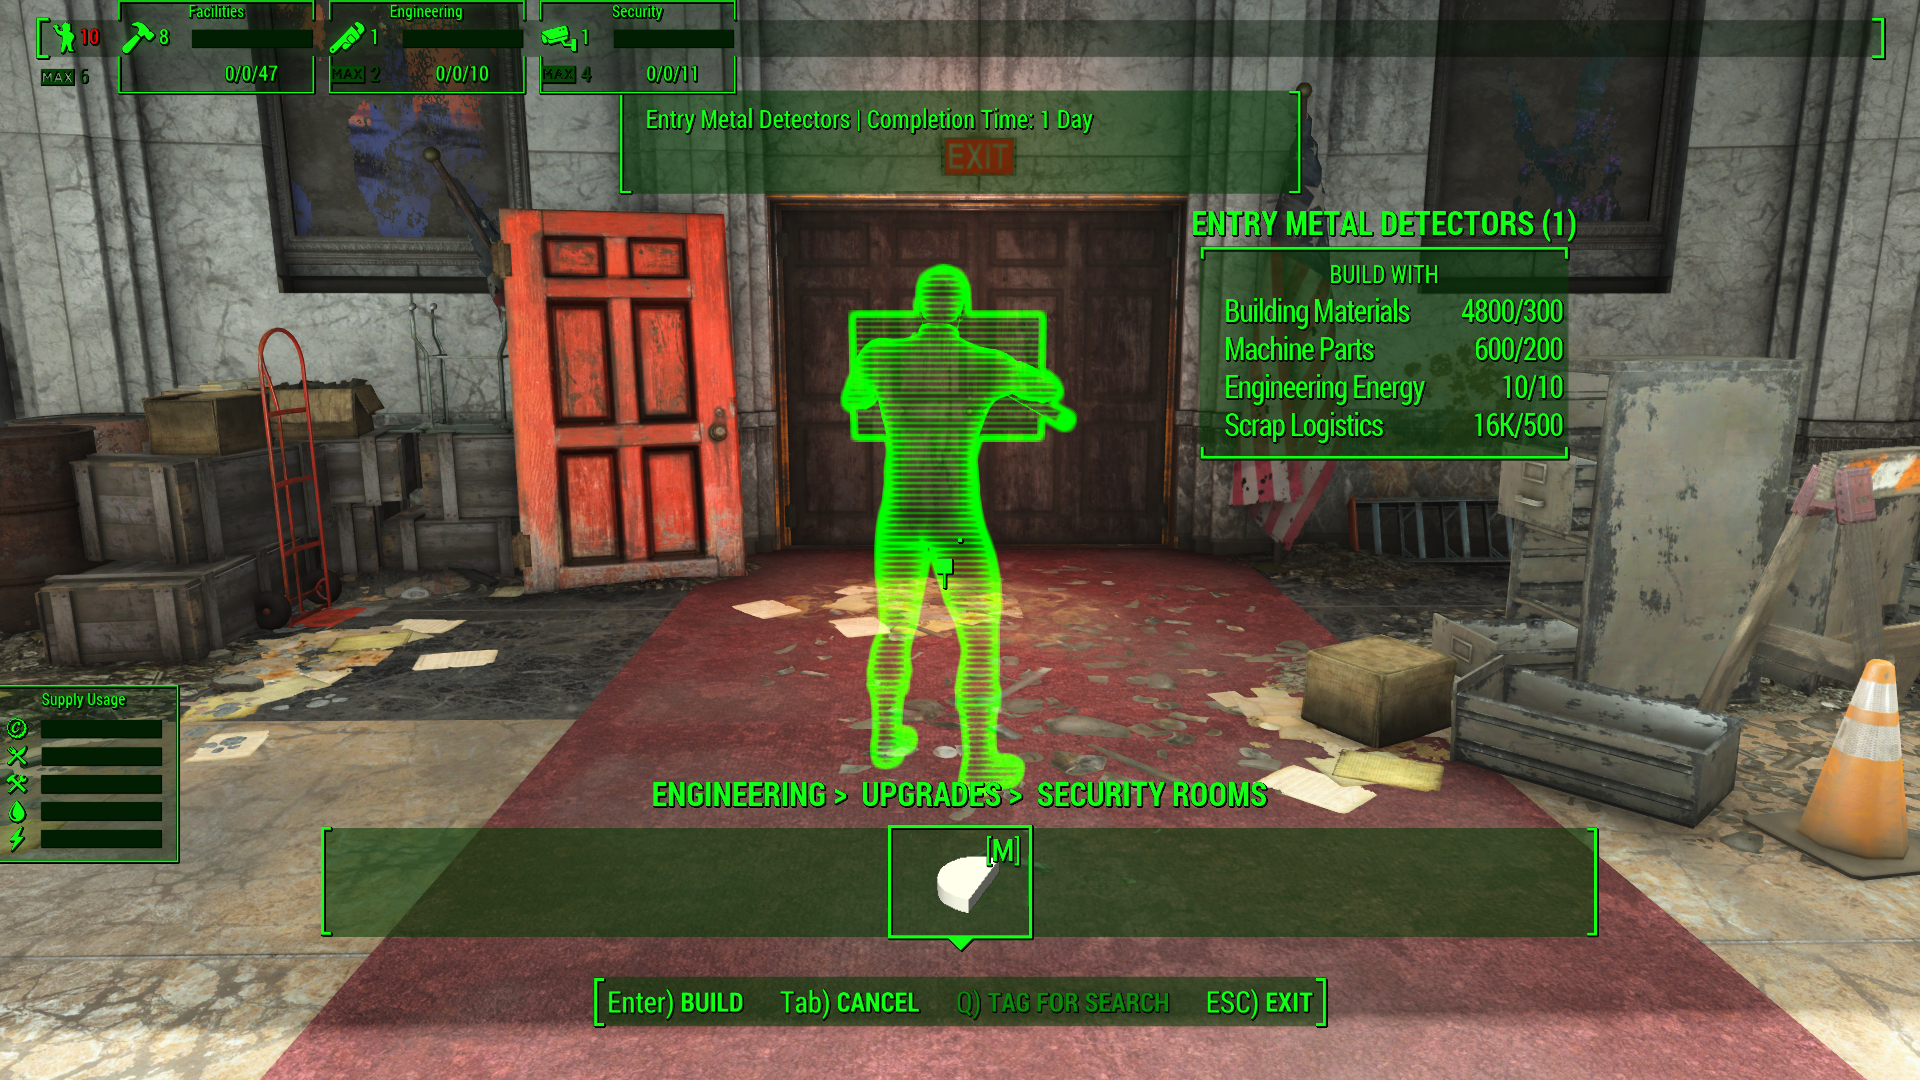
e. EXIT Command Mode.
f. Wait for construction to complete
15. Hear your staff's concerns. (Main Upper Level).
16. Talk to Lupe, Theresa and Mansfield about supplies.
17. Meet Theresa at Stodge's/or Hubert's settlement.
18. Talk to Stodge/or Hubert about providing HQ with supplies.
19. Build a Caravaneer Plot, if there is not one at the settlement.
20. Return to Headquarters
21. On your return, you will find that Lupe has been automatically assigned as the Department Head of the Logistics Department.
22. Establish a Supply Agreement with the settlement in Command Mode
a. Select LOGISTICS, Enter
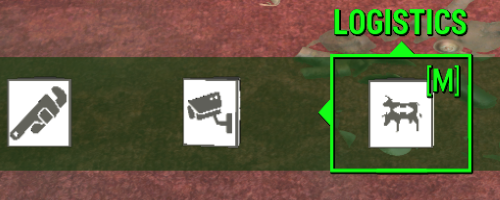
b. Select LOGISTICS>COORDINATE, Enter

c. Select the settlement to set up with an agreement.
d. Confirm
23. Investigate the argument (in the HQ meeting room).
24. Sit in the chair to begin the conversation with your staff. The discussion will be about recruiting Settlers for HQ.
25. Theresa is automatically assigned as Department Head of the Administration Department.
26. You're asked to recruit 15 staff for HQ by speaking to Settlers
27. Pick up the Recruitment Clipboard found on the Administration Department Desk in the HQ Meeting Room.
Recruitment
- When you wish to recruit a settler or companion, equip the Recruitment Clipboard (found in your Inventory under Weapons) and then ask them to work for you.
- When they have been recruited, you will be able to select the Department you wish them to join.
28. Recruit 15 Settlers for Headquarters. (You will need to build more Living Quarters to accommodate new staff. If Automation has been enabled, more Living Quarters will be built).
With just the Department Heads and M.A.L.A. at Headquarters, you will only be able to build Living Quarters for your Department Heads or Living Quarters for 2. Clean and build those one at a time, and you should have Facilities Energy and materials to build several of these before you go out and do your recruiting.
Begin recruiting Settlers for the Facilities Department first. Once you have 10 Facilities staff with high Strength and enough building materials, you will be able to build Living Quarters for 4 or higher.
TIPS:
1. Remember, Projects will now take longer to complete, as the tutorial part of How to HQ is completed.
2. Some Projects can take 1 or 2 days, some longer to complete.
3. Building up your HQ is not meant to be completed in just a few days of in game play.
4. Look for Unique Settlers with high (Gifted or Savant) S.P.E.C.I.A.L.s to add to the departments.
5. The special stats for departments are located on the Headquarters page
6. If you do not wish to wait the normal time for project completion, there is a setting in the City Manager Holotape: Options> Gameplay>HQ>Override Timers: ON/OFF (Turn ON) to make the completion time like what you experienced during this quest.
Next Quests:
- Water Under the Bridge - Starts at the end of the meeting
- Is There a Doctor in the House? - Starts when you have recruited 15 Settlers
¶ Notes
- About Jake, Aiden, Cedric Mansfield, Lupe, Theresa, Stodge and Hubert
- Completing this quest unlocks the HQ Exterior for construction projects
¶ Quest ID & Stages
¶ Quest ID: SS2C2_MQ24
| Stage | Notes |
| 1 | Quest Started |
| 2 | Quest Running |
| 20 | Turn off Argument |
| 25 | Teleport in Mansfield |
| 30 | Mansfield Enters HQ |
| 32 | Jake yells over here |
| 35 | Remove Vault81 Security |
| 50 | Mansfiled Intro Scene over |
| 60 | Assign Tutorial started |
| 80 | Trigger HQ Welcome |
| 85 | Turn off mansfield greeting |
| 90 | Project Tutorial started |
| 95 | Theresa Lupe Head Upstairs |
| 100 | Jake Project started |
| 110 | Aiden Project started |
| 120 | Mansfield Project started |
| 160 | 3 Projects Started or Finshed |
| 170 | Mansfield has left |
| 180 | Theresa leaves for Settlement |
| 185 | Theresa & Lupe scene end |
| 190 | Theresa at Stodge/Hubert Settlement |
| 200 | Theresa leaves for HQ |
| 205 | Caravan Services Built |
| 210 | Theresa back at HQ |
| 215 | Meeting started |
| 220 | Turn off Meeting room Argument |
| 230 | Theresa talking about idea |
| 240 | Meeting over |
| 250 | Recruitment Complete |
| 300 | Clean Started Mansfield Office |
| 305 | Cleaned Mansfield Office |
| 310 | Build Started Mansfield Office |
| 315 | Built Mansfield Office |
| 319 | Build Started Living Quarters |
| 320 | Build Living Quarters |
| 325 | Engineer Assigned |
| 330 | Security Assigned |
| 334 | Clean Started Front Security |
| 335 | Cleaned Front Security |
| 339 | Clean Started Maintenance Closet |
| 340 | Cleaned MaintenanceCloset |
| 344 | Build Started Front Security |
| 345 | Built Front Security |
| 349 | Build Started Maint Closet |
| 350 | Built Maintenance Closet |
| 354 | Upgrade Started Metal Detectors |
| 355 | Upgraded Metal Detectors |
| 360 | Logistics Assigned |
| 365 | Supply Agreement Established |
| 370 | Admin Assigned |
| 380 | Halfway through Mansfield Skip scene |
| 390 | Give Player Holotape |
| 400 | Player Skipped Tutorial |
| 410 | Player Enabled Automation |
| 420 | Mansfield Skip scene complete |